Nota bene: All products in this article are independently selected and vetted by InsideHook editors. If you buy something, we may earn an affiliate commission.
The first time I ever tie-dyed something was at Bible camp. I had begged my mom to let me go not because I professed, or aspired, to be a devout Christian, but because I couldn’t bear to endure yet another summer of my three closest friends going without me. My mom conceded and off I went for a week, Bible in tow.
It proved to be seven days of seemingly endless prayer circles, re-enacting biblical scenes and nearly daily Bible studies. I was deeply uncomfortable the whole time. Whereas my friends had been attending the camp for years, and were staunch Sunday and Wednesday churchgoers, my family went to church only a handful of times, if that.
I couldn’t grasp the concept of praying before every meal, I was dumbfounded to learn we were prohibited from using the phrase “Oh my God,” unless it was to express a sense of ‘wonder’ or ‘amazement’ and all I really wanted to do was swim in the pool, but I couldn’t even do that — the day I left for camp was the day I got my first period. I should have heeded it as a sign not to go.
On the second-to-last day of camp, and after nearly a week of feeling like I was constantly on the verge of being ousted or might burst into flames, it was time to tie-dye our shirts. It was a relief just to do something, sans any mention of the bible. I could mindlessly work on my shirt without fear someone would ask me to recite my favorite Bible verse.
Now, some 10 years later, I decided to try my hand at tie-dye again to see if it would prove to be the same calming, mindless activity I remembered. Being completely alone in my apartment for weeks on end, I sought an activity that would require all my focus and attention, without being too arduous a task. Tie-dyeing once again proved to be the perfect reprieve from my anxieties and fears.
Once I began to get into the rhythm of the task, it consumed my time and energy. While it’s a relatively simple project, by the end of it I felt a sense of accomplishment, a feeling that has become increasingly foreign this past month. Just as I had the shirt from camp to remind me of that strange and now funny time (and to never attend church camp again), I’ll have these shirts and socks and sweatshirts to serve as a reminder of this equally strange and new experience.
The Supplies
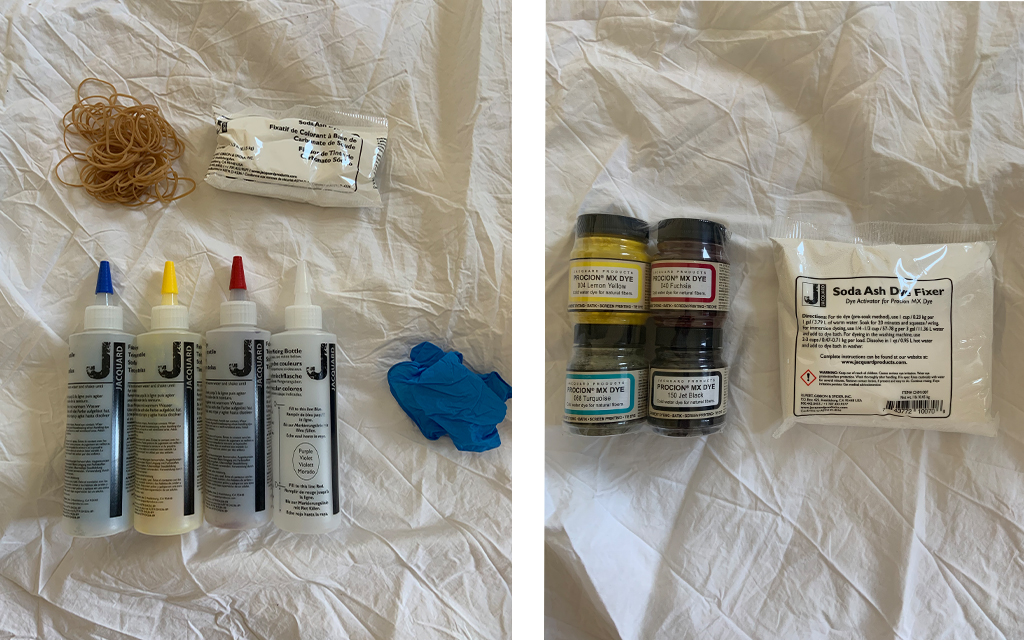
The market for tie-dye kits is vast and populated with sets designed to meet varying aesthetics. I opted for two different kits from Jacquard, the first being this fairly rudimentary kit complete with gloves, pre-measured bottles and rubber bands and the second kit being the Procion Four Color MX Dye Set.
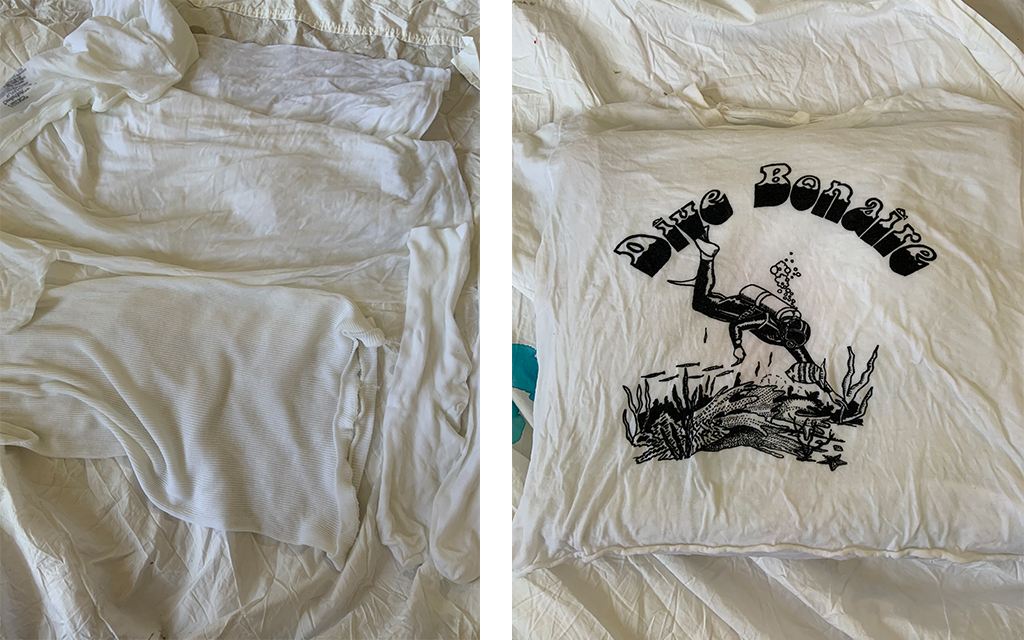
Naturally, you’re going to need some things to actually dye. It’s recommended to choose clothing or fabric that’s mostly cotton, because that’s what the dyes will react best with (for any other fabric or material you would need an entirely different dye). And, in the event you’re not an expert tie-dyer, you’re going to want something on the cheaper side, in case the final product isn’t what you hoped. For inexpensive white tees I usually default to Hanes and their t-shirt packs.
And if you’re feeling especially bold, it’s worth digging through your own closet and seeing if there are any pieces of clothing that you don’t really wear, but would lend themselves well to tie-dyeing. I was able to “re-purpose” some tops I had already owned but rarely wore.
Step 1: Dissolve, soak, etc.
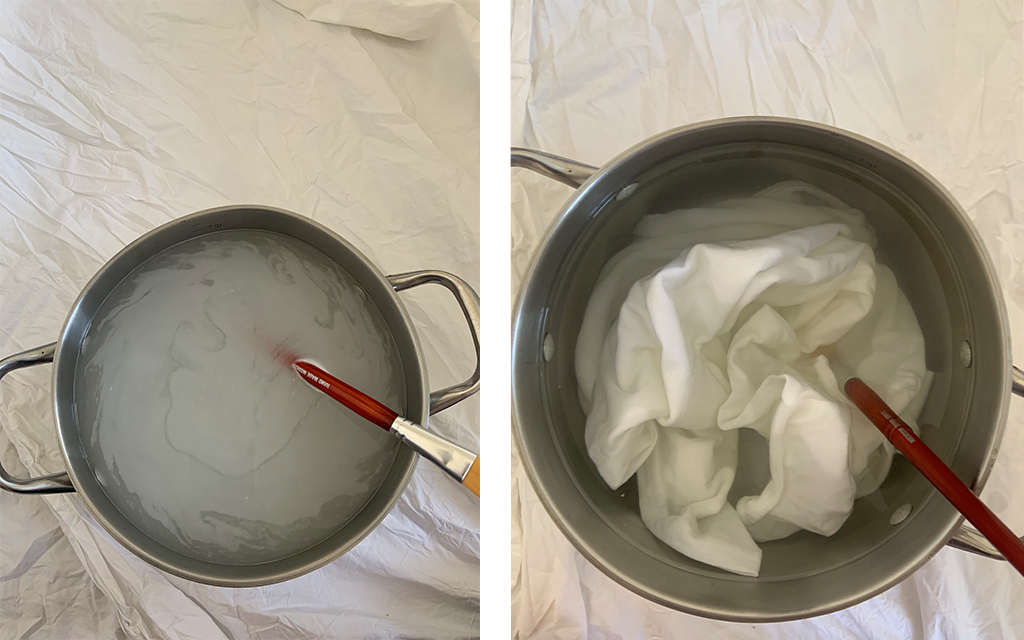
The first steps of tie-dyeing are boring but necessary. First you want to dissolve your soda ash mixer in a bucket or something of the like (I used a giant pot because it’s all I had and I don’t cook anyways) filled with warm water. Once it’s completely dissolved, toss what you want to dye in there and set your timer for 20 minutes.
Step 2: Wring ’em out
Before applying the dye, you want to make sure to really wring out all the water from the clothing so as to allow the dye to really absorb into the material. Otherwise, the dye will most likely wash out.
Step 3: Go crazy
There are plenty of tie-dye patterns you can follow online, but I prefer just to wing it. The great thing about tie-dyeing is that it’s nearly impossible to make mistakes — even if you “mess up” it still looks intentional, and no one will know the difference.
I did my best not to envision or plan out too much in advance a specific design, so as not to be disappointed if the outcome wasn’t what was desired. Instead, I just applied the dye before I could second guess my decision and waited to be surprised by the final product.
Step 4: Now, we wait
The most annoying part of tie-dye is how much waiting it entails. Once your dye is applied the next and most difficult step is to wait 12 to 24 hours for the dye to fully soak in.
If you’re impatient like myself, it’s best to place whatever you dyed out of sight, so as not to be tempted to wash them too early. I found that beginning the process at around 8 or 9 at night helped, because once I was finished dyeing, I could just go to sleep and enough time would have passed by the time I woke up.
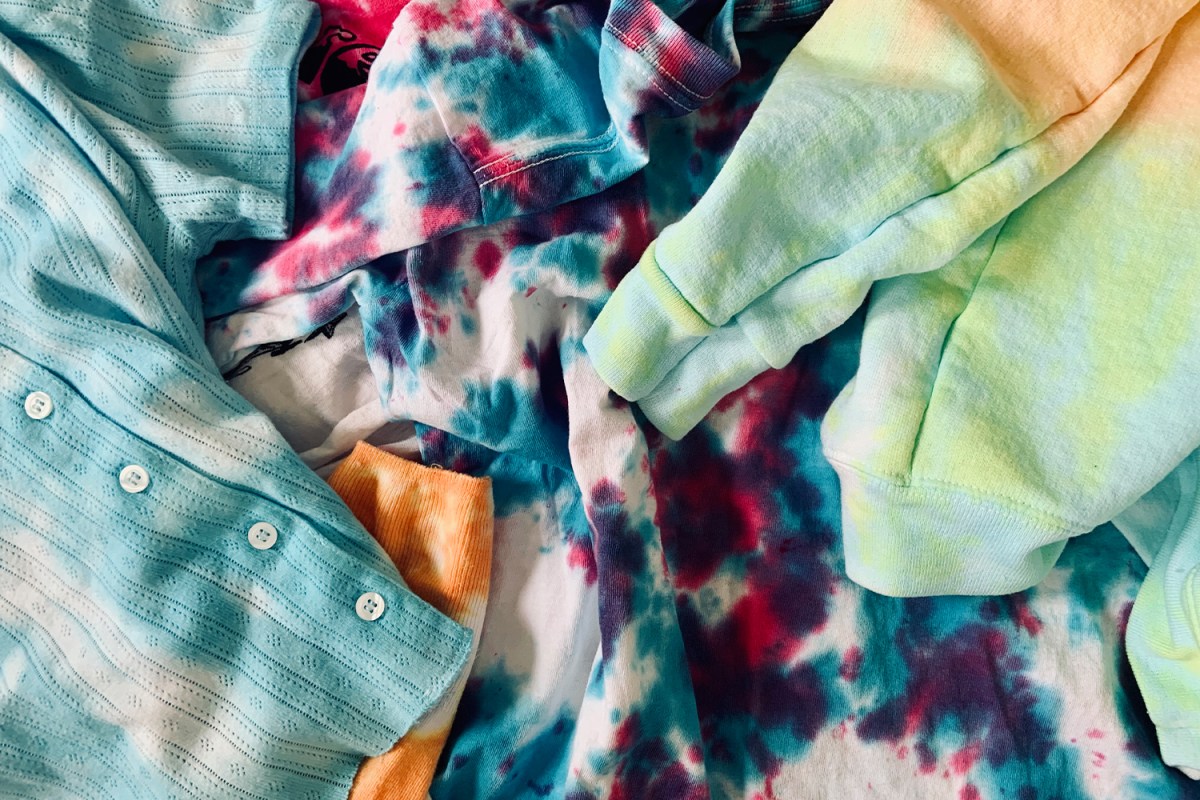
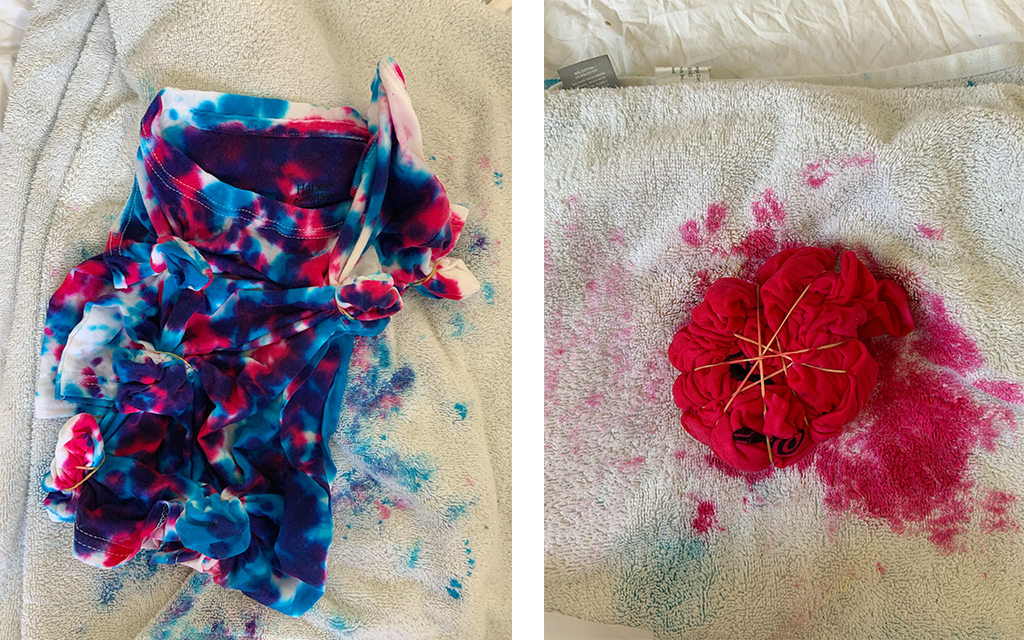
Step 5: The final reveal
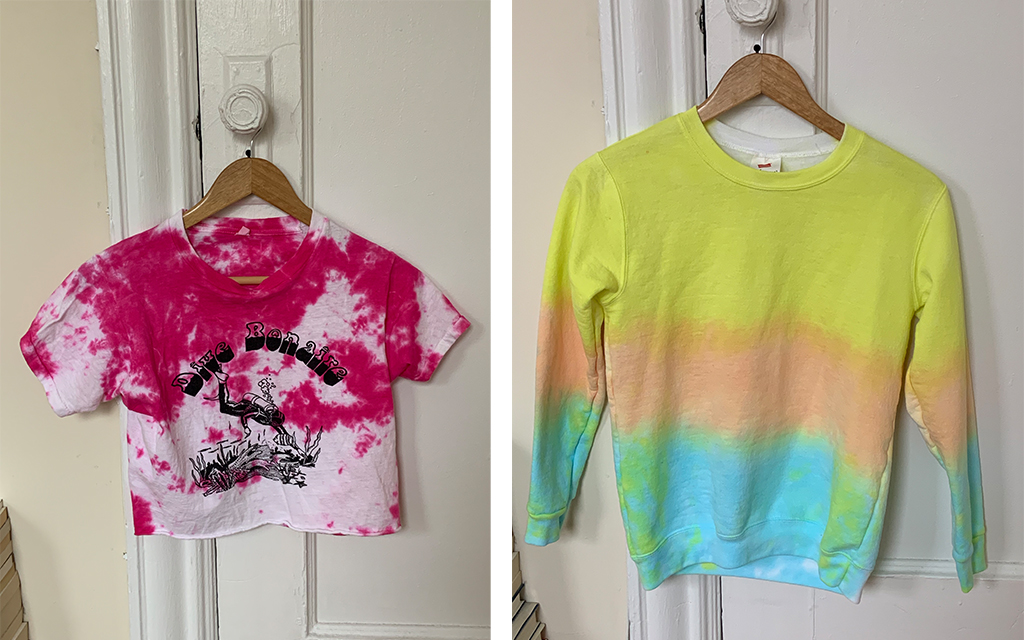
Once 12 or however many hours have passed, it’s time to wash out the dye. You want to run the clothing under cold water until the water runs clear, i.e. it’s not yellow or blue or whatever color the dye was. This is another step that can take considerable time, but by not doing it you run the risk of the dye bleeding and potentially ruining your other clothes (and creations!) when you go to wash them. Better safe than sorry.

And after a normal spin in the washer and dryer, that’s it — your clothes are officially tie-dyed and free to be worn.
Meet your guide
More Like This


This article appeared in an InsideHook newsletter. Sign up for free to get more on travel, wellness, style, drinking, and culture..