Last winter, people set up smokeless bonfire pits, erected towering patio heaters and bought those pocket hand warmers by the box at Costco. In the face of pandemic-induced tragedy, there seemed to be an equal and opposite well of resourcefulness. If people couldn’t gather inside safely, by Jove they were going to gather outside, freezing temperatures be damned!
Now that it’s 2022, it seems like we’re all running low on that gung-ho mindset. As the new year drew closer, I certainly counted myself in that camp, so I did something drastic: I built an ice bar.
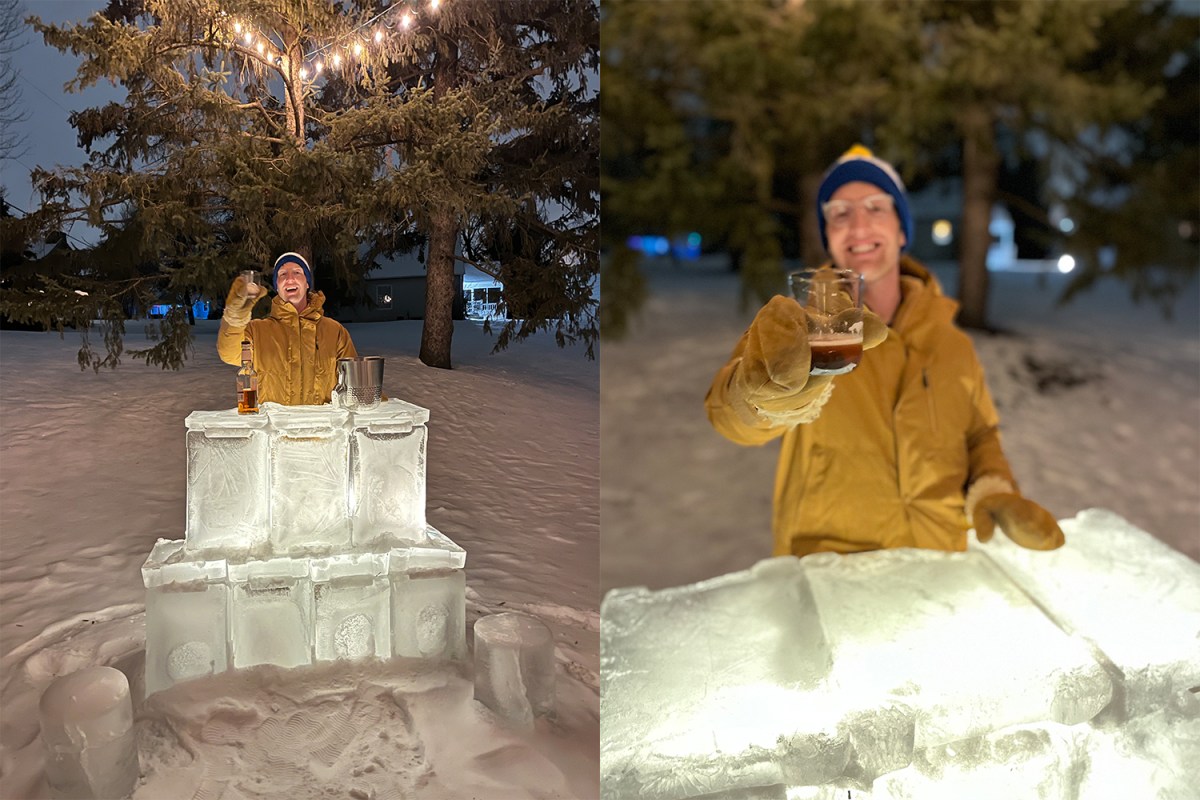
Yes, a bar made entirely of ice, and some snow, that I can mix and serve drinks from currently sits in the backyard of my suburban home. No, I am not a sculptor (ice or otherwise), I have no experience in construction (or bartending, for that matter), and I don’t have any special machinery that helped me achieve this feat of frosty engineering. I simply saw the Omicron variant spreading in December and decided that if I can’t safely go to a bar this winter, then I’m bringing a safe, outdoor bar experience to my house.
As I sat at my ice bar one night in my Minnesota parka and long johns, on a barstool made of ice, I looked around at my neighbors’ backyards that were dark and covered in snow, no footprints to be seen, and thought, why doesn’t everyone do this? I’m planning on inviting those neighbors over for a drink once I’ve got my bartending-in-mittens skills up to snuff to spread the gospel locally, but for the rest of you out there in the colder regions of the world, here’s how you too can be the ice king or queen of your neighborhood.
How to Make an Ice Bar
If you live in a city where temperatures are consistently below freezing in the winter, you may just have an ice bar near you at a restaurant or hotel as an attraction to lure you in. Personally, I was inspired by my fellow Minnesotans, specifically the story of one family who built a bar in their front yard last winter. It consisted of a wood frame, loads of ice bricks that were frozen over a month and $50 worth of supplies from Target. It looked great, but I figured I could build one with no frame in less time for $0.
First, the most obvious of caveats: If you live in an area without ample snow and where it’s routinely above 32 degrees Fahrenheit, you’re never going to make this work. Here in Minnesota I was able to build mine in late December and early January as temperatures dipped as low as -20 degrees and topped out at 33 degrees on a day or two, but this week even I of the frozen north have been worried, as highs reached all the way up to 38. Thankfully, the mercury is dipping back down.
More Reviews
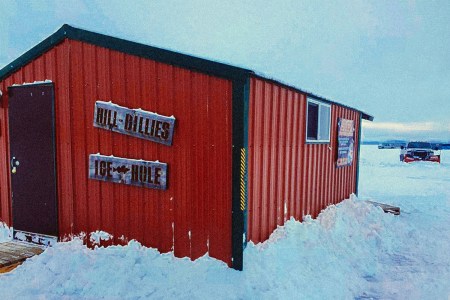
A Dispatch From Hillbillies Ice Hole, The Bar in the Middle of a Frozen Lake
Stories from one of the coldest watering holes in AmericaIf you do find yourself in a similarly icebound landscape, here’s how I built my ice bar:
I started with a YouTube tutorial from the channel Minnesota Cold, run by Nathan Ziegler of Minneapolis. I took the basic instructions described by him and customized them for my needs. The construction consists of taking the biggest plastic trash bins or storage containers you have — ideally those with flat, squared bottoms — placing them outside on a flat surface, filling them with water, then letting them freeze into blocks. Depending on how cold it is, you can make your blocks larger or smaller. I made some as big as six inches wide (filling my bins with six inches of water), but that’s because I knew they’d freeze in -20 degree weather; if it’s always above 0 degrees, opt for four inches of water. To keep your hose from freezing, connect it to a faucet inside your house and run it outside to where you’ve placed your bins. I also had a bucket from Home Depot in my garage, so I figured I’d fill that to the brim with water and try to make a couple stools, too.
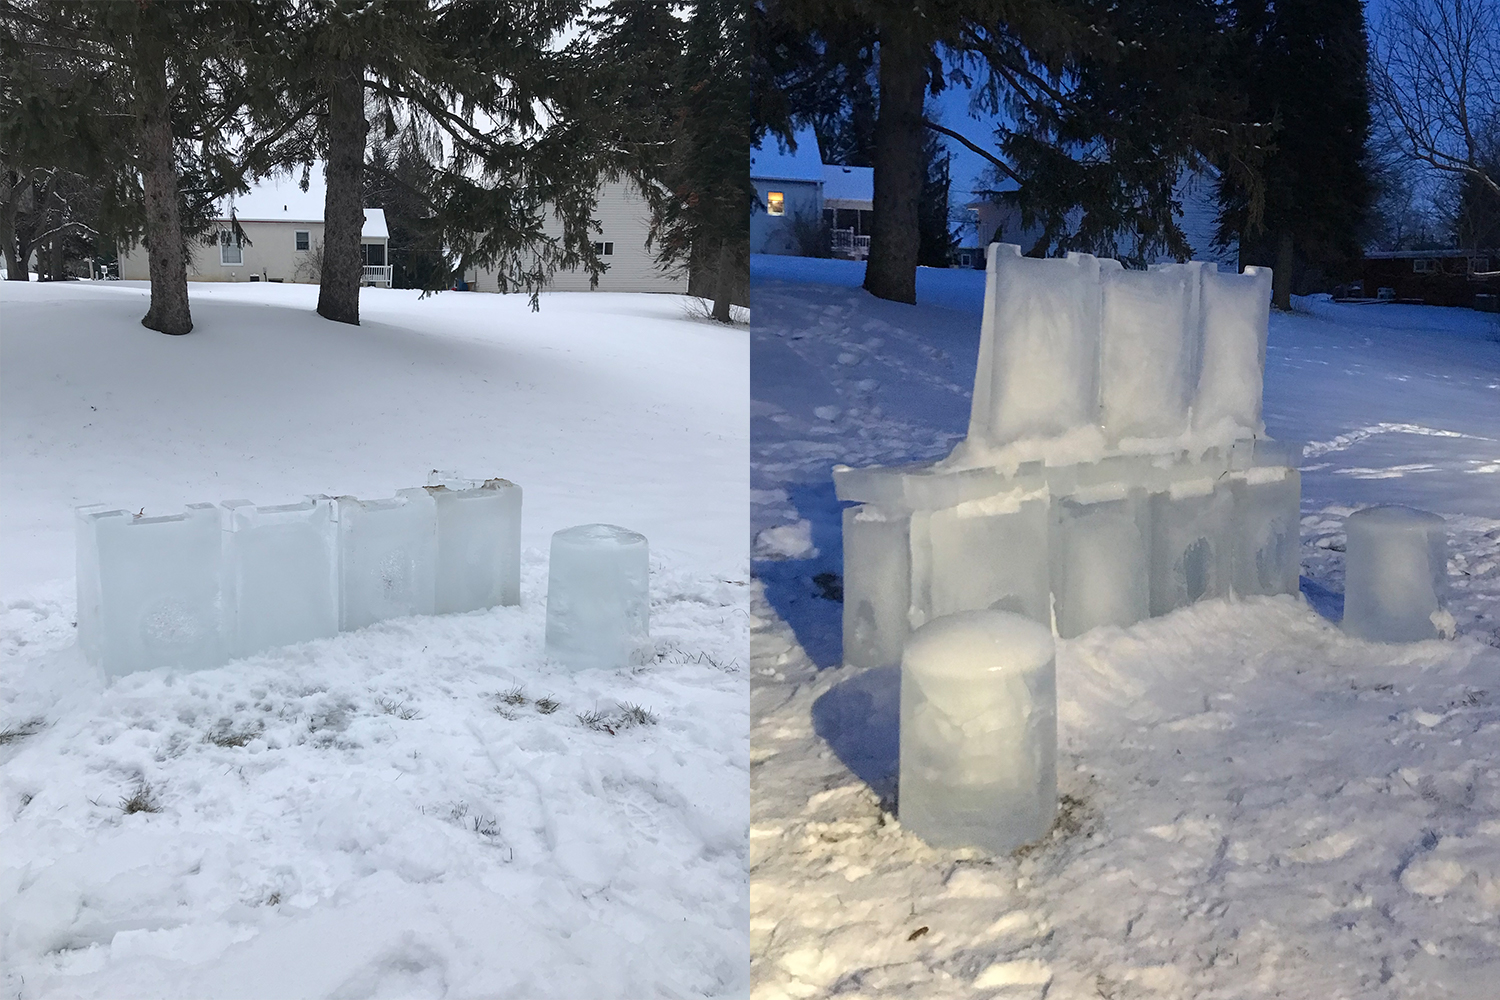
When you’re checking on the progress of the freezing, you’ll be able to see pockets of water in those that still need some time outside. Once mine were completely frozen, I flipped them over and slid them out carefully with a hand on the ice; if you turn them upside down and let them drop to the ground, they may crack. Assembly required standing the blocks upright in the snow, packing snow around them for support, then freezing them in place by pouring a little water on the snow and ice to make a kind of frigid cement. Once the base was solid — mine is four ice blocks in front, two on the ends, and three in the middle for supporting a second tier — I laid more flat blocks on top and did the same process with the snow-water cement, eventually adding a smaller second level of three blocks in front, two supports and then a bar top of three flat-ish slabs.
A couple notes that may be no-brainers, but may be helpful: If you have longer bins for freezing the blocks, you may not need to stack two tiers like I did. My bins are roughly 20 inches long, so I made do with that. If you are building a tiered bar, you’ll want to use thinner blocks as you build higher to avoid stress on the ice below. And when you’re topping your bar, you’ll want to pick the smoothest blocks possible. (During the freezing process, you may see some bowing in the plastic bins as the ice expands.) Don’t top it with something so thin that leaning on your bar could break it, of course, and not so heavy that your hard work falls apart like a Jenga tower.
A week after officially finishing my ice bar, it’s still standing, including the stools, which miraculously froze. All in all, it took me a week and a half from start to finish.
How to Finish It, What to Serve and Other Questions
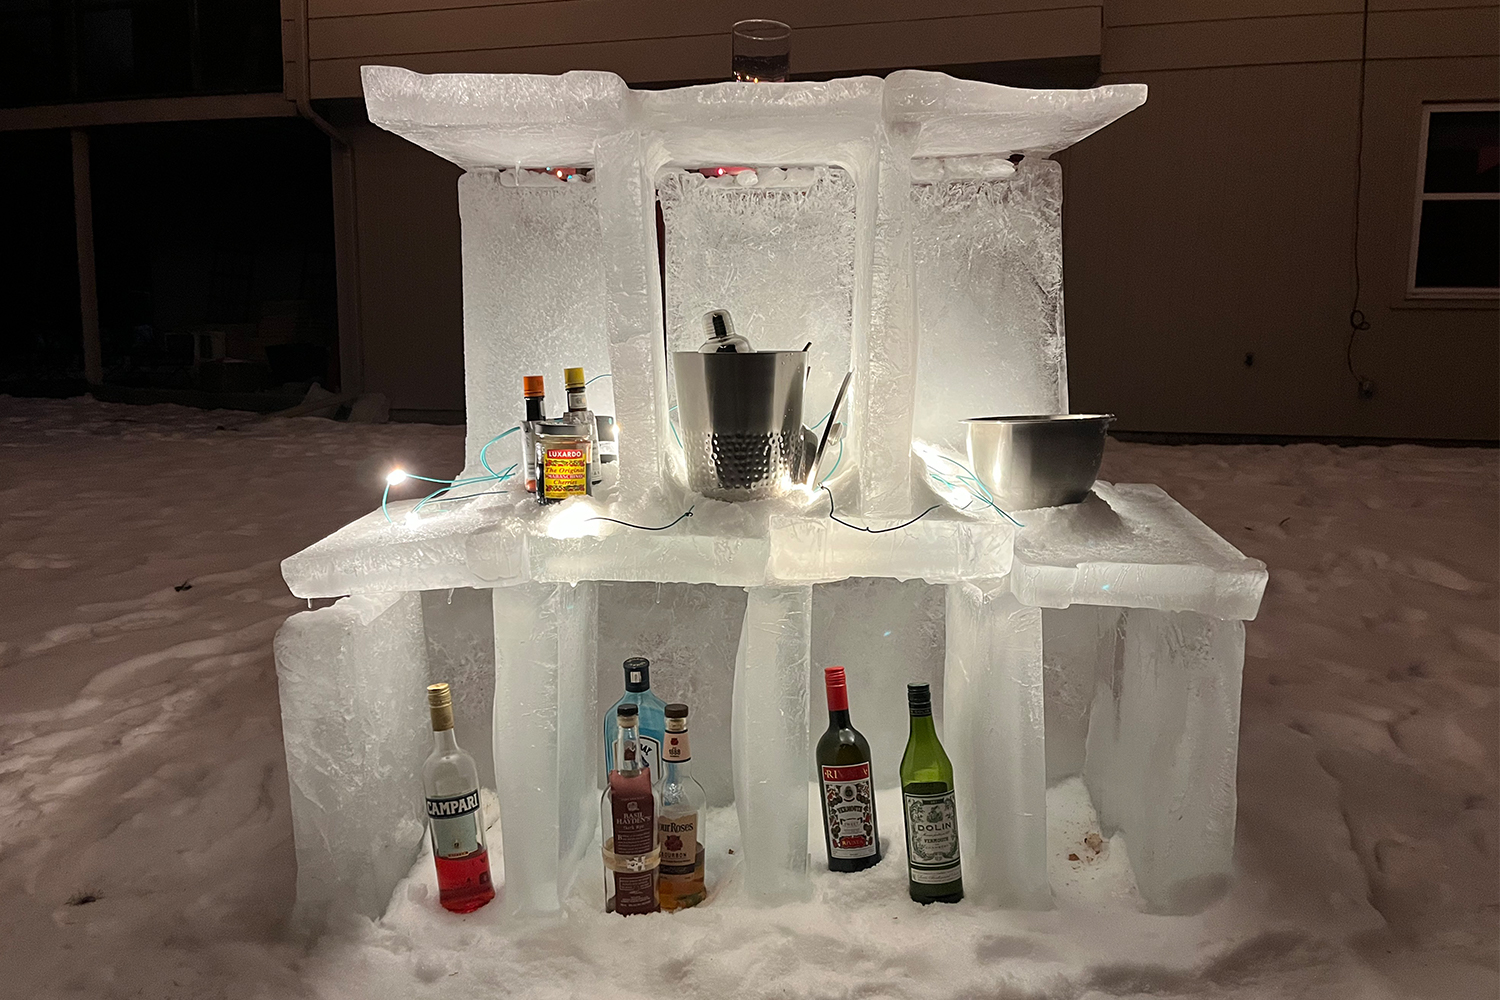
In Ziegler’s video, he lines his bar with LED lights attached to plastic slats cut from venetian blinds. The final product looks ready for primetime at Sweden’s famous Icehotel, but I simply put a string of solar-powered camping lights I already owned behind my bar, running them between the openings in the ice blocks, and called it a day. Price tag: nada. Final product: almost, if not equally, as impressive. The additional all-weather outdoor lights that are strung between my house and a tree in my backyard help with the ambience, and a firepit far enough away from the bar helps keep people warm.
Now we come to the most important question of this endeavor — What do you serve at an ice bar? From my experience, beer is obvious as you can just stick it in a bucket or straight in the snow, but cocktails are the key. What’s more impressive than an expertly mixed drink made by the same hands that built the bar?
In that regard, you’ll want to stick with warming spirits like whiskey and simple cocktails you know like the back of your hand, like a Manhattan, Old Fashioned or Boulevardier. Bottled ingredients are your friend, while anything that requires extra implements or preparation, like fresh juice or fruit garnishes, is not. (Olives and good cocktail cherries are ideal, they give your patrons some extra calories to keep warm.) If you can make hot chocolate and keep it toasty enough to serve outside, by all means do so — with a bottle of Baileys on hand — just be aware that any hot mugs will quickly melt into the top of the bar, as I discovered on my first outing.
A simple dram of Scotch or other whiskey will likely also be welcome when your guests’ main objective is staying warm, not judging your mixology skills or bottle choice. That said, since I’m doing this in lieu of patronizing local establishments, I do like to keep Minnesotan bottles stocked in the ice bar, Keeper’s Heart Irish-American whiskey from the newcomers at destination distillery O’Shaughnessy being a personal favorite.
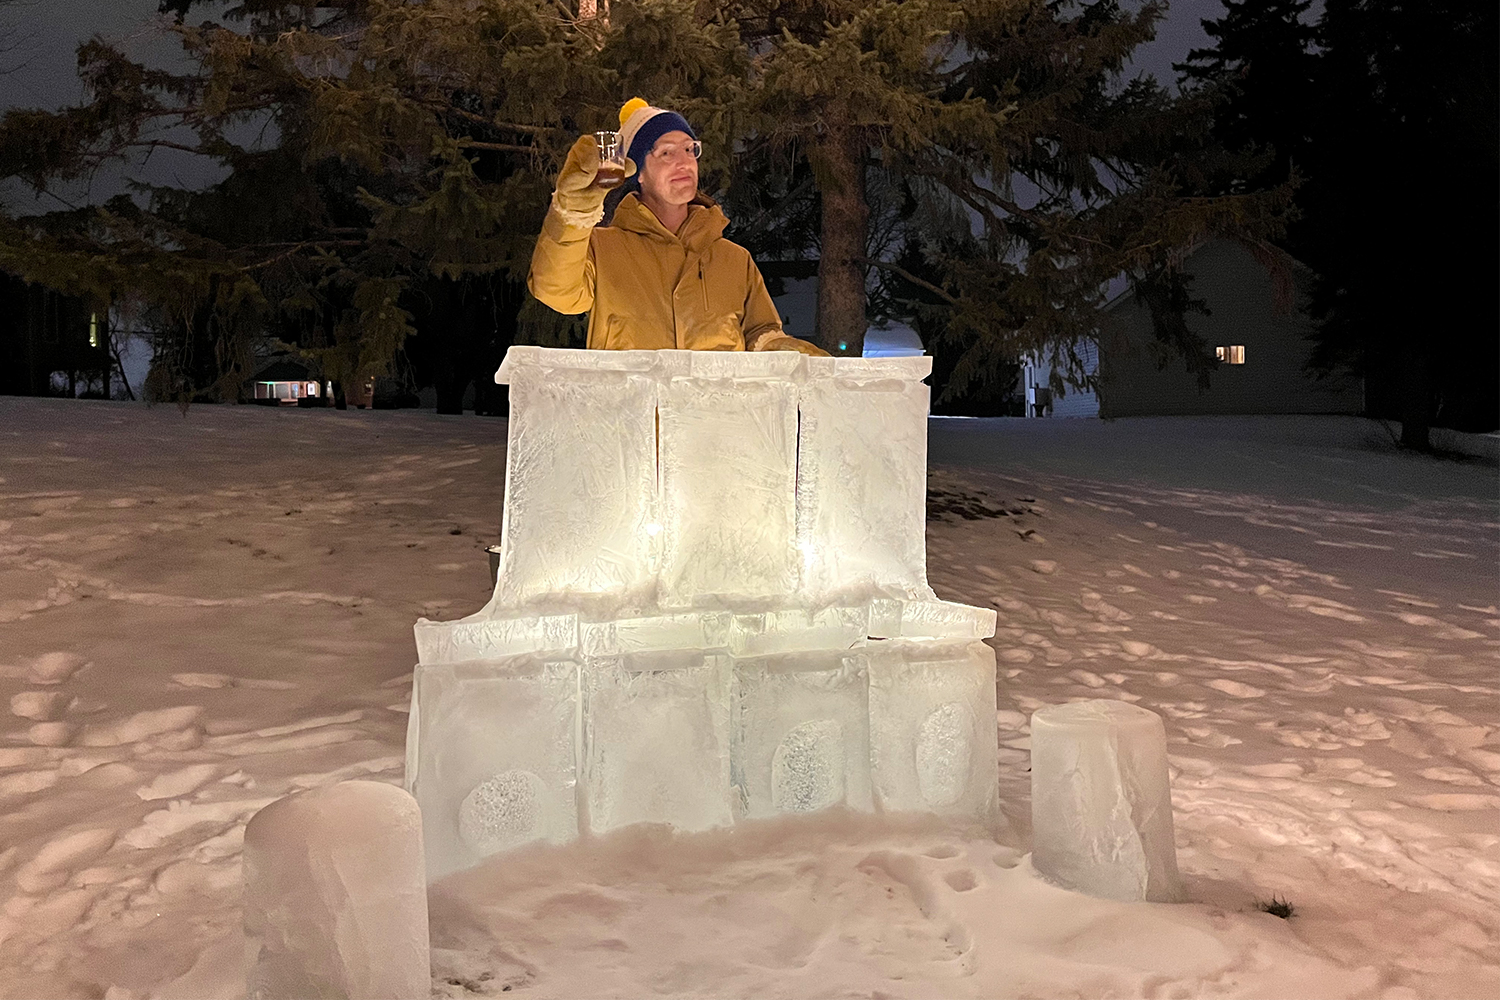
For anyone up to the challenge, be forewarned: you will be questioned at every turn. I found my personal experience of building an ice bar to be a bit Griswoldian. Like Clark canvasing his house in lights in National Lampoon’s Christmas Vacation, I felt like I was leaning almost too hard into suburban life while people simultaneously rolled their eyes at my endeavor. I could picture the eventual triumph, even if others couldn’t.
When the ice bar was complete and I first turned on the lights at 6 p.m. one night — the sun sets here around 5 — I knew it had all been worth it. It was a tall, solid, glorious beacon of light in the mid-winter darkness. And the Old Fashioned I made, with two cherries, which I feel I deserved, was the coldest I’ve ever had.
Meet your guide
More Like This


Every Thursday, our resident experts see to it that you’re up to date on the latest from the world of drinks. Trend reports, bottle reviews, cocktail recipes and more. Sign up for THE SPILL now.