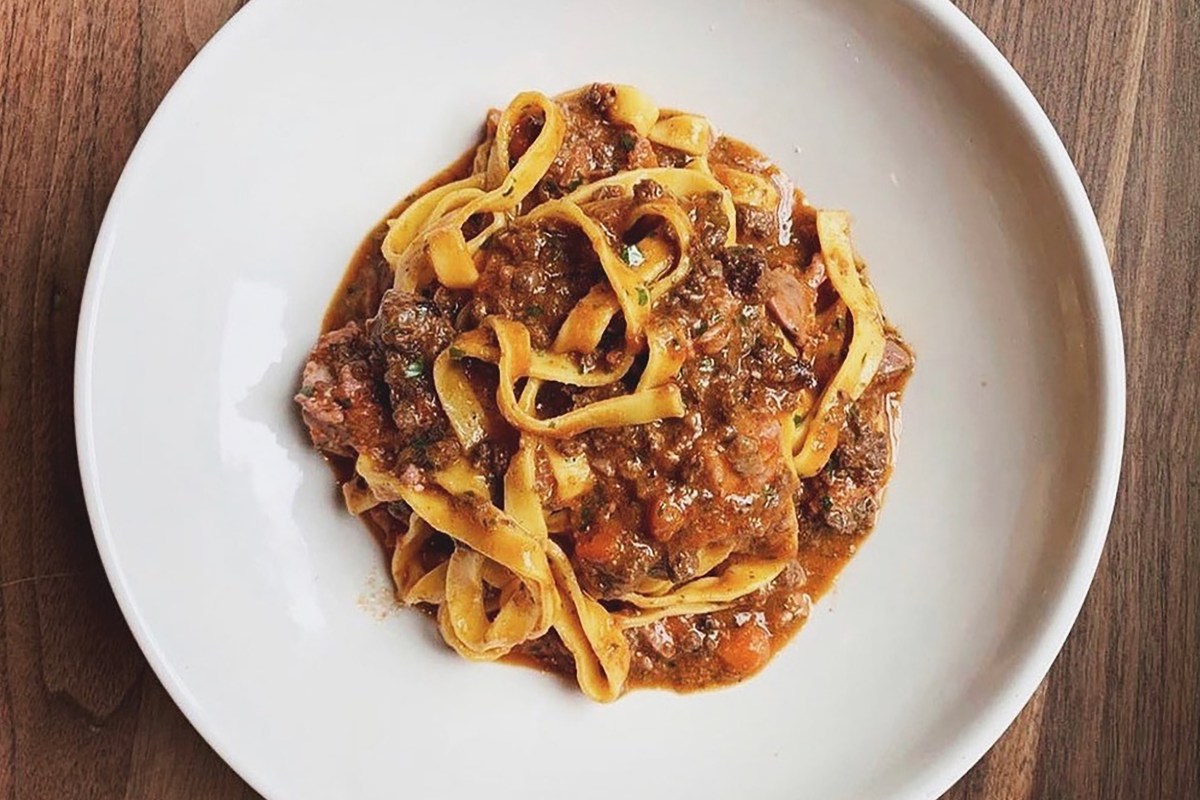
Penny Roma — the latest restaurant from the Flour + Water team, led by Thomas McNaughton and Ryan Pollnow — just opened a couple weeks ago, and already their take on rustic Italian is winning praise. And among that praise is a standout dish: their take on tagliatelle Bolognese.
Below, they share that recipe with us.
“This is a classic tagliatelle Bolognese — a staple on our menu at Penny Roma, where we celebrate iconic Italian dishes from all regions of the country,” says McNaughton. “This version combines a blend of ground beef, ground pork and pancetta, which adds depth to the finished dish, but the process works equally well with mushrooms in place of the proteins.” (Specifically: “portobello and shiitake for heft, and a scant amount of porcini — either fresh, or dried and rehydrated — for their flavor profile.”)
If you are going all-veg, McNaughton says, “you’ll want to use approximately the same quantity of chopped mushrooms, by weight. If using dried porcinis, replace some of the stock with the broth you used to rehydrate the mushrooms. If making vegetarian, you can also sub vegetable stock for the chicken stock.”
If you’re feeling lazy, Penny Roma is open for dinner seven nights a week. Otherwise, get to it.
Penny Roma’s Tagliatelle Bolognese
Bolognese Ragu:
- 2 tablespoons extra-virgin olive oil
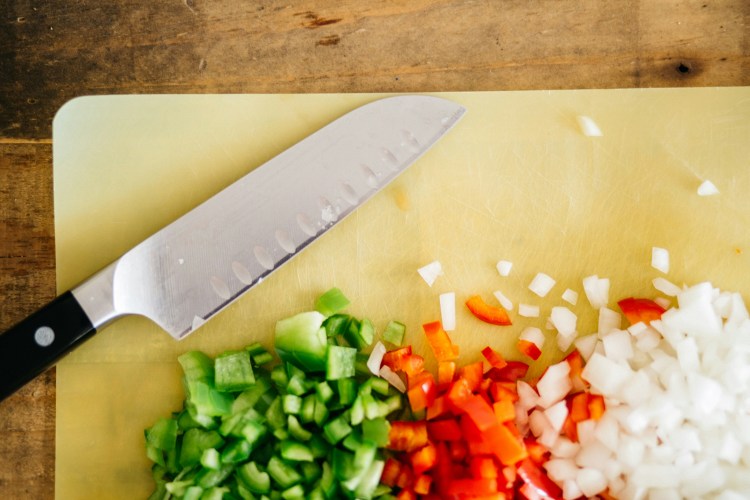
- 1 medium onion, finely chopped
- 1 celery stalk, finely chopped
- 1 carrot, finely chopped
- 12 ounces ground beef
- 5½ ounces ground pork
- 3½ ounces pancetta, chopped
- 3 cups chicken stock (or store-bought)
- 2 tablespoons tomato paste
- 1 cup milk
- Kosher salt
- Freshly ground black pepper
- 1 recipe standard egg-dough tagliatelle (see below; story-bought works as well)
To finish:
- ½ cup unsalted butter
- Kosher salt
- Freshly ground Parmigiano-Reggiano cheese
To make the ragu, in a large, heavy pot over medium-high heat, warm the oil. Add the onion, celery and carrot. Sauté until soft, 8 to 10 minutes. Add the beef, pork and pancetta; sauté, breaking up with a spoon, until browned, about 15 minutes. Add 2½ cups of the stock and the tomato paste; stir to blend. Reduce the heat to very low and gently simmer, stirring occasionally, about 2 hours. Season with salt and pepper.
Bring the milk to a simmer in a small saucepan; gradually add to the sauce. Cover the sauce with a lid slightly ajar and simmer over low heat, stirring occasionally, until the milk is absorbed, about 1 hour, adding more stock ¼ cup at a time, to thin if needed.
To finish, bring a large pot of salted water to a boil.
Transfer the ragu to a 12-inch (30-cm) sauté pan and bring to a simmer. Add the butter and begin swirling to combine. At the same time, drop the pasta in the boiling water.
Once the pasta is cooked 80 percent through, until almost al dente, about 2 to 3 minutes, add it to the pan. Reserve the pasta water. Continue to simmer, stirring constantly, until you achieve a sauce-like consistency, about 3 minutes. Season with salt. Remove from the heat. To serve, divide the pasta and sauce between 4 plates, sprinkle with the Parmigiano-Reggiano, and serve immediately. Serves 4.
Standard Egg Dough (for Tagliatelle)
Makes 22.7 ounces of dough.
- 360 grams OO flour (2 well-packed cups, unsifted)
- 1½ teaspoons (2 big pinches) kosher salt
- 300 grams egg yolks (1 ¼ cups/18 to 20 yolks)
- 1½ teaspoons extra-virgin olive oil
Step One: Mixing
To start, place the flour on a dry, clean work surface, forming a mound about 8 to 10 inches in diameter at its base. Sprinkle the salt in the middle of the mound. Using the bottom of a measuring cup, create a well 4 to 5 inches wide, with at least a half inch of flour on the bottom of the well.
Slowly and carefully add the wet ingredients (eggs and olive oil) into the well, treating the flour as a bowl. Using a fork, gently beat the eggs without touching the flour walls or scraping through the bottom to the work surface.
Then, still stirring, begin to slowly incorporate the flour “walls” into the egg mixture, gradually working your way toward the outer edges of the flour, but disturbing the base as little as possible. If the eggs breach the sides too soon, quickly scoop them back in and reform the wall. Once the dough starts to take on a thickened, paste-like quality (slurry), slowly incorporate the flour on the bottom into the mixture.
When the slurry starts to move as a solid mass, remove as much as possible from the folk. Slide a bench scraper or spatula under the mass of dough and flip it and turn it onto itself to clean any wet dough from the work surface.
At this point, with your hands, start folding and formatting the doubt into a single mass. The goal is to incorporate all the flour into the mass, and using a spray bottle to liberally spritz the doubt with water is essential. It is a very dry dough, and it cannot be overstated how important it is to generously and constantly spritz to help “glue” any loose flout to the dry dough ball.
When the dough forms a stiff, solid mass, scrape away any dried clumps of flour from the work surface, which, if incorporated in the dough, will create dry spots in the final product.
Step Two: Kneading
Kneading is an essential step in the dough-making process: it realigns the protein structure of the dough so that it develops property during the resting stage that follows.
Kneading is simple: Drive the heel of your dominant hand into the dough. Push down and release, and then use your other hand to pick up and rotate the dough on itself 45 degrees. Drive the heel of your hand back in the dough, rotate, and repeat for 10 to 15 minutes. This is how Italian grandmas get their fat wrists.
Pasta is easy to underknead, but virtually impossible to overknead (unlike bread, where each type has its sweet spot or ideal kneading time). That said, even though the dough cannot be overkneaded, it can spend too much time on the worktable — and, as a direct result, start to dehydrate and be more difficult to form into its final shape. For best results, I think a 10- to 15-minute range is a solid guideline. When the dough is ready, it will stop changing appearance and texture. The dough will be firm, but bouncy to hte touch and have a smooth silky surface, almost like Play-Doh. Tightly wrap the dough in plastic wrap.
Let rest for at least 30 minutes at room temperature. If resting for more than 6 hours, store the dough in the refrigerator. The dough will hold for up 2 days in the refrigerator, but it’s best to use it the same day you make it, because the egg yolks will oxidize and discolor the dough over time. Remove the dough from the refrigerator at least 30 minutes before rolling it out.
Step Three: Making the Tagliatelle
Dust 2 baking sheets with semolina flour and set aside.
To make the tagliatelle, slice off a section of the ball of dough, immediately rewrapping the unused portion in plastic wrap. Place the piece of dough on the work surface and, with a rolling pin, flatten it enough so that it will fit into the widest setting of your pasta machine. Begin rolling the dough through the machine, starting with the widest setting. Guide it quickly through the slot once. Then decrease the thickness setting by one and repeat. Decrease the thickness setting by one more and roll the dough through quickly one more time. Once the dough has gone through three times, once of each of the first three settings, it should have doubled in length.
Lay the dough on a flat surface. The dough’s hydration level at this point is so low that you’ll probably see some streaks; this is normal, which is the reason for the next crucial step: laminating the dough.
Using a rolling pin as a makeshift ruler, measure the width of your pasta machine’s slot, minus the thickness of two fingers. This measurement represents the ideal width of the pasta sheet, with about a finger’s length on each side, so there’s plenty of room in the machine. Take that rolling pin measurement to the end of the pasta sheet and make a gentle indentation in the dough representing the measurement’s length. Make that mark the crease and fold the pasta over. Repeat for the rest of the pasta sheet, keeping that same initial measurement. For best results, you want a minimum of four layers. Secure the layers of the pasta together with the rolling pin, rolling it flat enough that it can fit in the machine. Put the dough back in the machine, but with a 90-degree turn of the sheet. In other words, what was the bottom edge of the pasta is now going through the machine first.
This time around it’s important to roll out the dough to three times on each setting at a steady, smooth pace. If you roll it too fast, it will snap back to its earlier thickness, thereby lengthening the time you’re going through each number.
It’s important to maintain a consistent speed while cranking in order to keep a consistent thickness. You should be able to see and feel the resistance as the dough passes through the rollers. On the first time at each level, the dough will compress. It’s time to move onto the next level with the dough slips through without any trouble. The first few thickness settings (the biggest widths) usually require three passes; once you’re into thinner territory, there’s less pasta dough compressing, so it goes more quickly and two passes get the job done.
Keep rolling the dough until it is just translucent, or just slightly thinner than 1/16 inch (2 mm). If you can see the outline of your fingers behind it, or the grain of the wood table through the pasta, you’re in good shape. For most (but not all) hand-cranked pasta machines at home, it’s the second-to-last setting.
With a knife, cut the dough into 12-inch (30-cm) strips. Make two stacks of strips, four strips per stack, thoroughly dusting between the layers with semolina flour. Allow the dough to dry for 30 to 45 minutes, or until the dough has a slightly dry, leathery texture but is still pliable. Fold each stack like a letter, forming three even layers. Cut the folded dough into 1/4-inch (6-mm) strips, shake off the excess semolina, and form into small nests on the prepared baking sheets. Set aside.
Every Thursday, our resident experts see to it that you’re up to date on the latest from the world of drinks. Trend reports, bottle reviews, cocktail recipes and more. Sign up for THE SPILL now.


