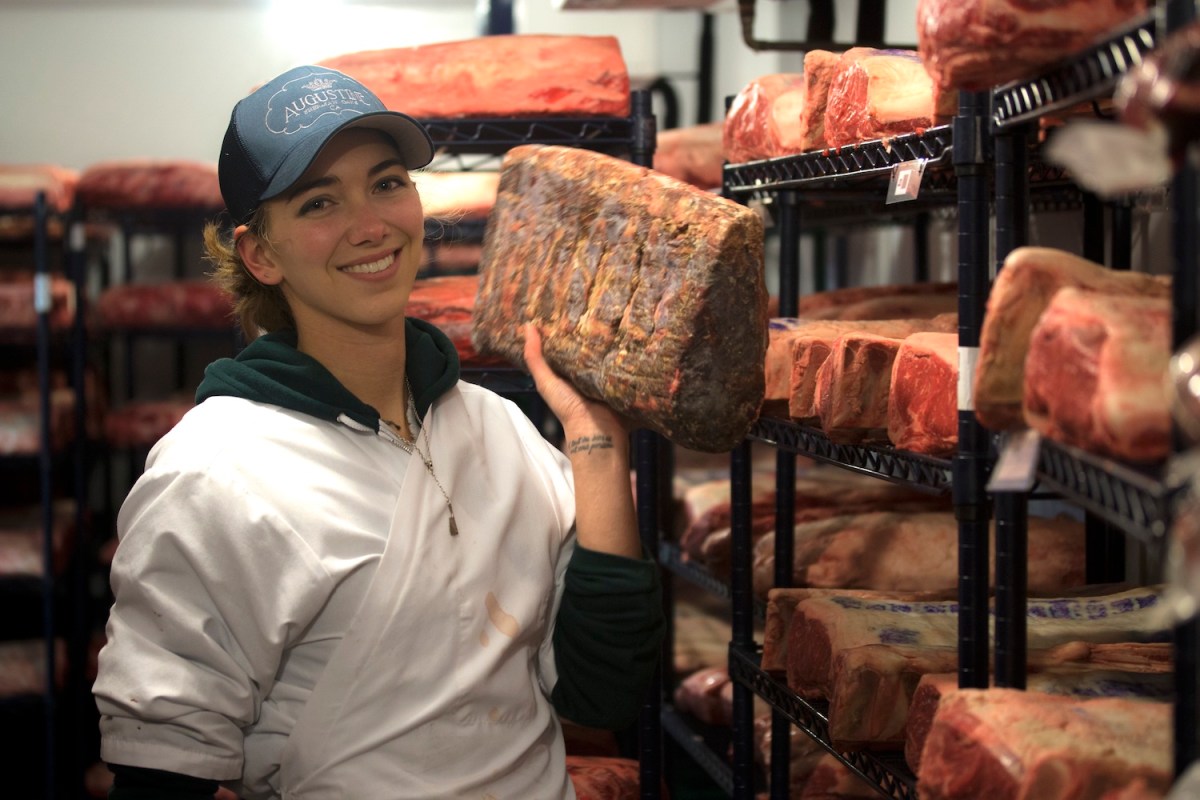
Dry-aged beef is a meat lover’s dream. It’s about as fancy as a steak can get, a fact well reflected in a price tag that can easily move into three digits at a fancy chophouse. But enterprising home cooks can replicate the process at home. So, in the spirit of DIY, we talked to Katie Flannery, the 34-year-old COO of Flannery Beef, about how to do it.
Flannery, who started working in the shop in her late teens, now helps her father run the San Rafael-based family business, one of the country’s top meat purveyors. Their specialty: USDA Prime dry aged rib-eyes. Here, she shares her tips for creating the ideal home set-up.
Dry Aging 101
The dry aging process, which typically takes 15 to 30 days in a refrigerator, intensifies the flavor, makes the meat super tender and produces an earthy, nutty aroma. “It’s a controlled decay process,” Flannery says. “You’re letting the exterior edges oxidize, and you may or may not get mold.” If you do it right, the mold will be food safe and will impart an incredibly rich flavor. Do it wrong, and you have rotten meat. “I sometimes eat moldy end pieces for fun, but to be extra safe at home, that stuff needs to be trimmed off,” she says.
The longer the process, the richer the flavor — to a point. “At the shop, we go longer to get a distinct flavor profile, often 30 to 40 days,” she says. “Generally, it will improve each day, but after 30 or 40, the flavor will flatline.” Less than two weeks, and the flavor difference will likely be too subtle to notice.

Amazing Cocktails Rule at SF’s Best New Restaurants
Also on the menu: live-fire cooking, pinecone syrup and sliders served on a swordThe Temperature
It’s all about the fridge temperature. “This is your number-one safety parameter, and you must dial that in,” Flannery says. Otherwise, you can only age your meat safely for a few days, and the effects will be hard to discern. “You want the fridge to be below 40 degrees at all times,” she adds. “Set it to 36 or 37 if you can get it that low. The temperature will have peaks and valleys, but you never want it to peak over 40 degrees because 44.6 is when pathogenic mold starts to form.” Use common sense and if something smells seriously off, go with your gut and chuck it. Instruments (including mini fridges and thermometers) can be wrong.
The Tools
For the best results, you’ll want to use a dedicated fridge and keep the door closed as much as possible. A mini fridge will work just fine. “With your regular kitchen fridge, you’re going to have less control over the environment, and fridge smells absolutely play a role,” Flannery says. In other words, if you don’t want your meat smelling like last week’s chili, buy a mini fridge that goes below 40 degrees.
Flannery recommends placing your meat directly on a wire rack and putting a fan inside your fridge that is on during the entire aging process. “You want to make sure the meat has proper airflow, 360-degree exposure, to allow moisture to escape,” she says.
At Flannery Beef, Flannery monitors the temperature with a cloud-based probe thermometer that texts her updates every 20 minutes. “I drill a hole through the ceiling of our coolers, and I thread the probe through and caulk the hole,” Flannery says. While it would be seriously metal to do this at home, the point here is to monitor the temperature to be sure it never goes above 40 degrees.
As for the theories about wrapping meat in cheesecloth to prevent over-drying, Katie thinks it’s unnecessary. But for an added safety factor, one accessory is worth considering: the UMAi Dry Bag. They’re designed to protect the meat from microbial growth, allowing gas and air to escape. You’ll need a vacuum sealer to squeeze all the air out of the bag before storing it, and using a fan will still help, so don’t think one replaces the other.
The Meat
The larger, the better. Your best option will be a hefty sub-primal, a cut that is larger than a single steak but not an entire side of beef. Typically weighing six to 20 pounds, you can find whole slabs of bone-in rib-eye at Costco or specialty butchers. After dry aging, you’ll trim the meat before slicing into individual steaks. “The size [should] depend on your familiarity with knife work, and you need the correct tools to fabricate it,” Flannery says. “If you’re breaking down a sub-primal, you shouldn’t be cutting with a chef’s knife. She recommends picking up a scimitar, which has a curved pointed tip that increases precision for cutting around the bone.
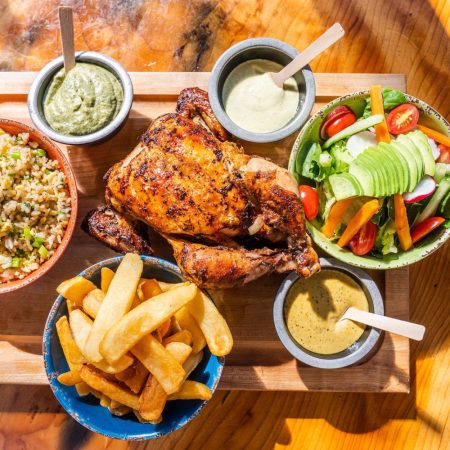
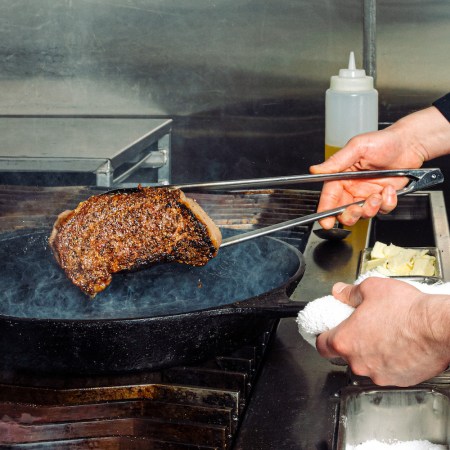
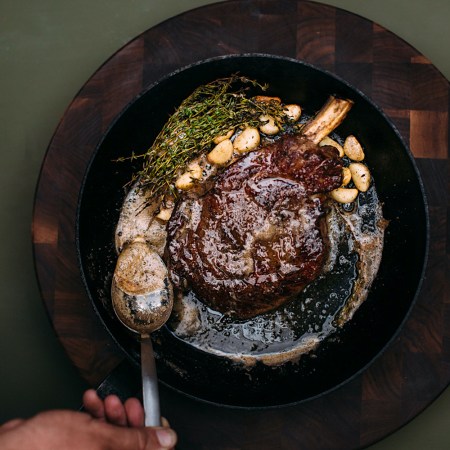
After dry aging comes the moment of truth. Whether the flavor is a subtle hint of earth or full-on funk, you can always count on a beautiful brown sear with dry aged meat. “I’m kind of a heathen when it comes to this,” Flannery says. “I’m a sucker for thick-cut steaks, seared in a cast iron skillet to get a nice color on it and then finished in the oven.” With high-quality ingredients, the best approach to cooking is often the simplest.
Meet your guide

More Like This
Every Thursday, our resident experts see to it that you’re up to date on the latest from the world of drinks. Trend reports, bottle reviews, cocktail recipes and more. Sign up for THE SPILL now.