This story is an exclusive sneak peek of Wondercade, the newsletter from Neil Patrick Harris produced in partnership with InsideHook Studios. You can sign up — for free — to receive it right here.
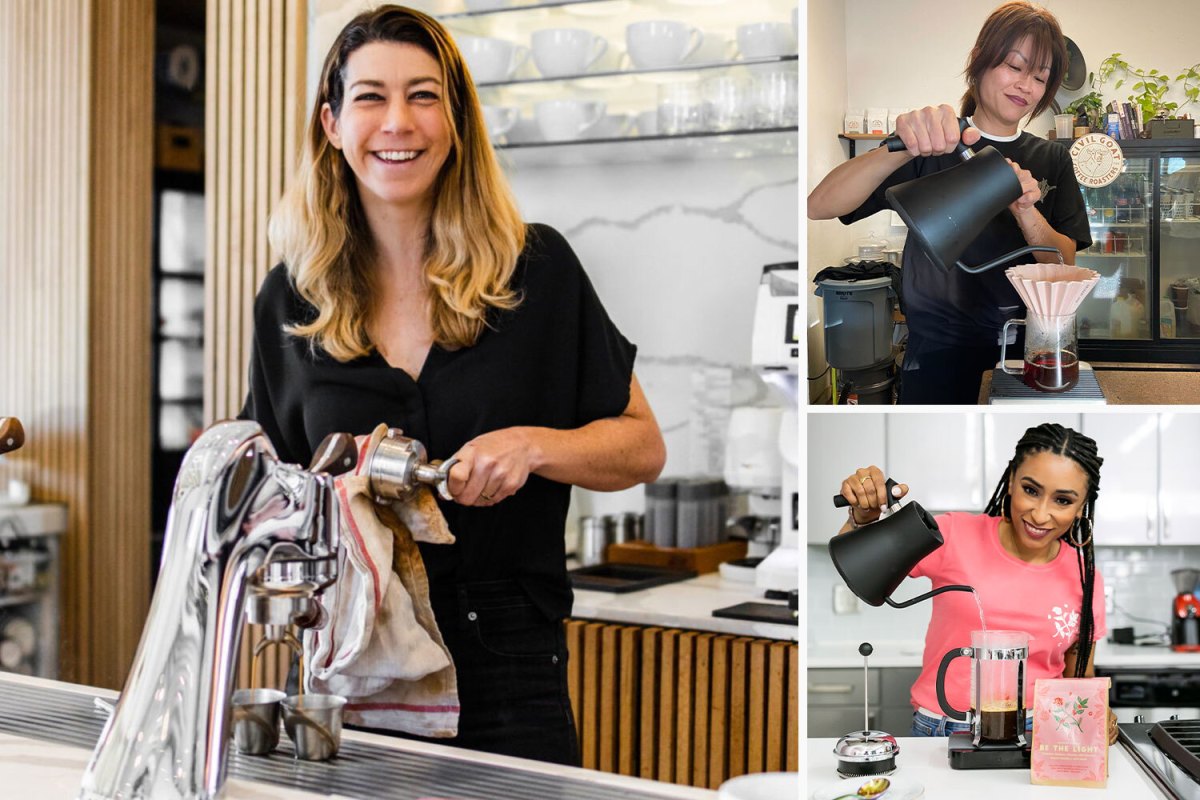
Coffee is perhaps the most personal of drinks. Ask a dozen people how they take it, and you’ll get a dozen different answers. (Mine is a flat white, sweet, ideally with oat milk.) The same holds for how people make their coffee. There are a host of factors that play into our morning brews. Flavor, strength, hot or iced, the time one has for prep, budget, available kitchen space, technical prowess…. Therefore, today, we’re presenting 3 coffee experts, each of whom will spotlight a different method of brewing at home. And because their trio of methods delivers different flavor profiles and requires different skill sets, prep times and budgets, the barrier to entry is yours to remove! Bonus: they also recommend a delicious treat to pair with your coffee.
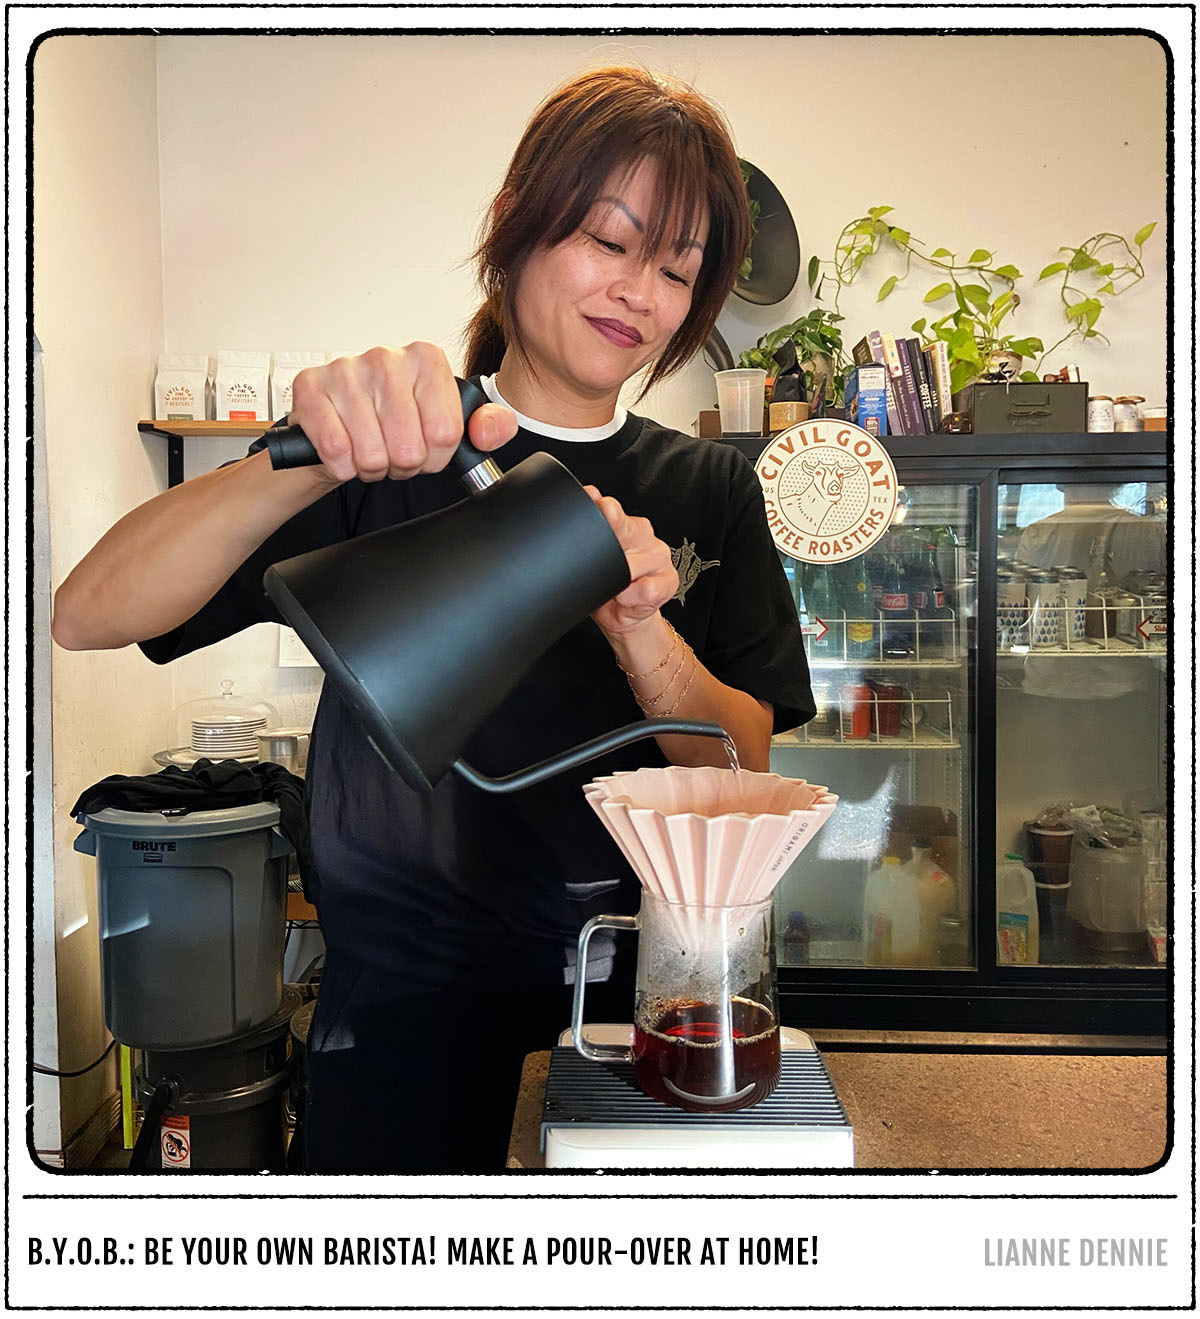
METHOD 1: POUR-OVER!
First up among our trio of coffee experts is LiAnne Dennie, a co-owner of Civil Goat Coffee Co. based in Austin, Texas, who’s here to take us through the pour-over method. —NPH
A pour-over coffee is a great way to get your day started in the morning. It’s nice to have something relaxing that slowly eases you into things, rather than trying to get through the morning super quickly. Brewing pour-over gives you a few quiet moments to think about what you need to get done that day, while your coffee’s dripping. Especially when your 2 teenage daughters have been trained since they were babies not to talk to Momma before she’s had her first cup.
To start, you’ll need a pour-over kit — which is really just a stand that you put your filter in. For filters, try Origami filters — they’re really lightweight and their cone shape funnels the water down for a slower drip. Then you need a kettle. You can get one for $40, but my favorite is the Bonavita electric kettle, which is on the pricey side.
Next, you’ll need a coffee grinder and some beans. How finely you grind the beans is important. For pour-over, you want a medium grind: something a bit finer than sand to best release the flavors. The ratio you’ll want is 1-to-15: So, for example, 20 grams of coffee to 300 grams of water. Anything Colombian is really good for drip and pour-over. It’s got chocolate and cherry and other notes on the fruitier side. Here’s a fun and economical tip: for pour-over, you can use old coffee grounds from a past pour-over, drip or French press. (Older grounds won’t really work if they were used in an electric coffee maker, though — they’ll taste burnt or stale.) Place the grounds in the filter and stick your mug under your filter. (You can also serve pour-over coffee in stemless wine glasses.) Now take your kettle of hot water (around 200 degrees is an ideal temperature for a really light, clean taste) and pour it over the beans in the filter. Do so in a slow, circular fashion, so the beans can soak it in. If the water hits the top of the filter, you’re going too fast. Then just watch it drip. It’ll probably take about 4 minutes or so before it’s fully ready.
Recommended coffee treat: banana bread
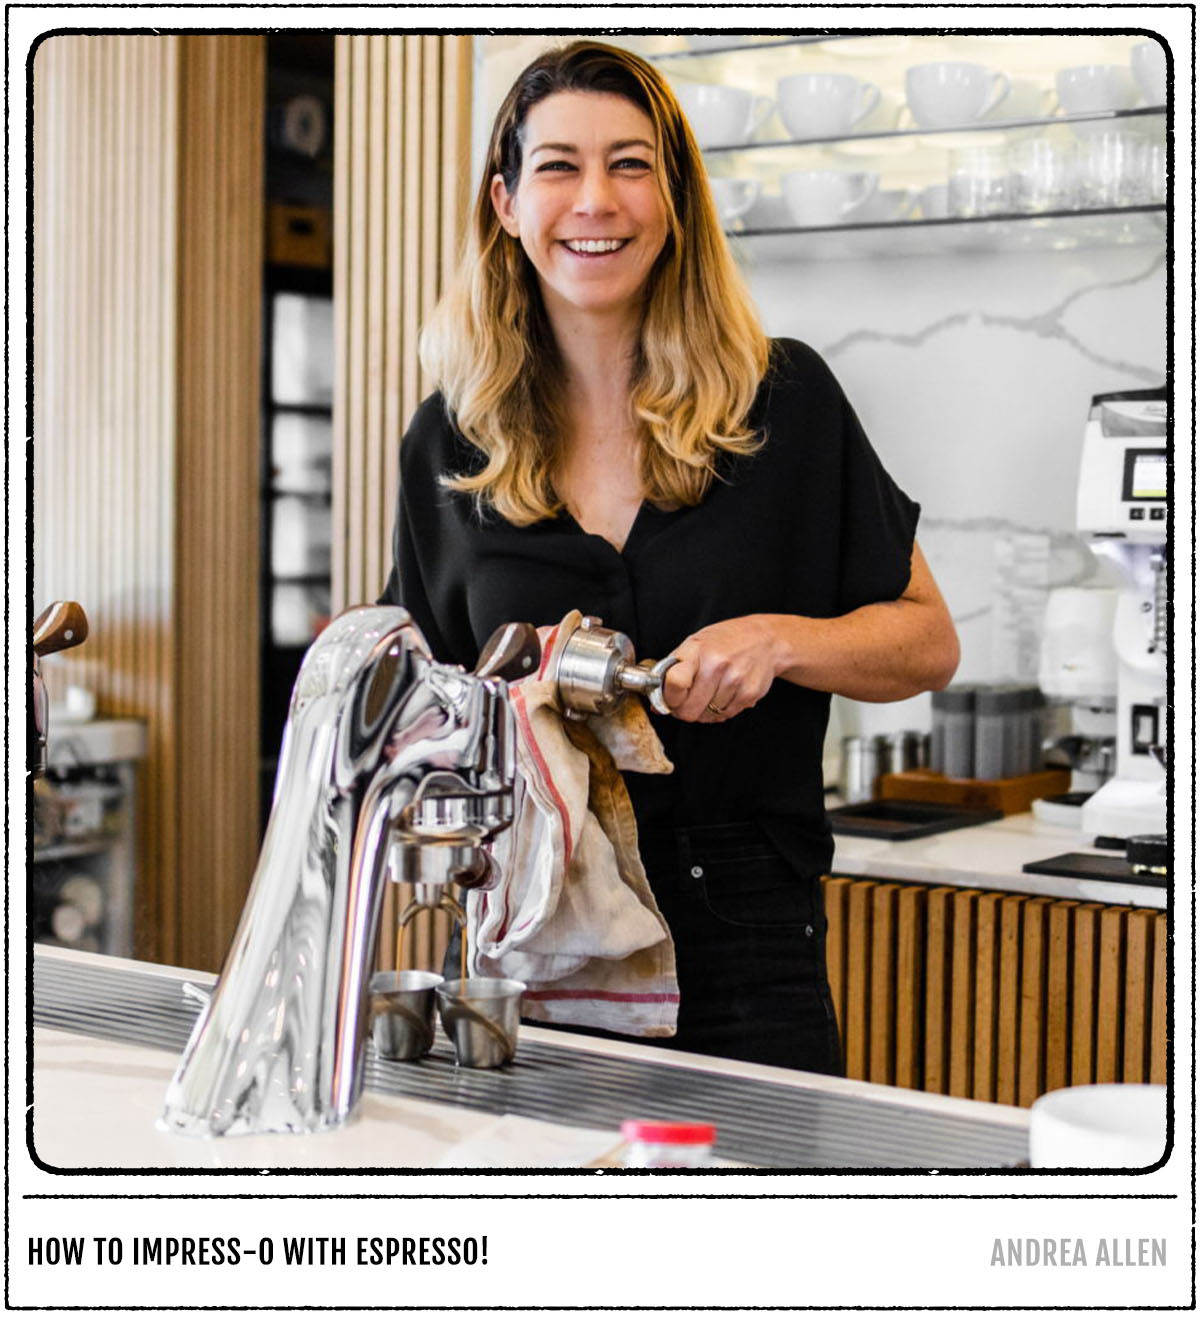
METHOD 2: ESPRESSO!
Next, meet Andrea Allen, 2020 U.S. Barista Champion and co-owner of Arkansas-based Onyx Coffee Lab, who’s expressing her love for espresso. —NPH
Making espresso at home is an investment, so be sure it’s something you want to pursue before purchasing a machine, which can range from $500 to multiple thousands of dollars. Plus, espresso is a more specific experience than brewing coffee…. You can brew a pretty good cup even if you don’t know what you’re doing, but with espresso, any mistake you make is magnified. So investing in good hardware is important: Breville has a whole line that has built-in grinders, which can help avoid errors, for example. (More on the importance of grinders in a sec.)
To get started, get some beans. I’m a big fan of buying from local roasters. Look for a “roast by” date on the package — you’re much more likely to end up with a better cup of coffee with fresh beans. If you go to the grocery store, the package probably doesn’t have a “roast by” date, but instead, a “best by” date. That doesn’t tell you how old it is, and it’s probably already super old.
Then, grind: The finer your coffee is ground, the more particles there are to brew, and the more concentrated and more bitter your coffee will be. The coarser the beans are ground, the fewer particles there are to brew, so your coffee will be on the more sour end of the spectrum. It’s totally up to your preference, though. Personally, I like mine slightly on the more acidic side.
Wary About Microdosing? Coffee May Have Similar Effects Against Depression.
Interesting news for caffeine enthusiastsYour espresso machine will have something called a portafilter — that’s the spoon-shaped tool where you pour the ground beans when you brew the coffee. Make sure your portafilter is clean, as well as dry. This is the piece of equipment that acts as your filter that’ll dose out your ground coffee, which will vary depending on the recipe you’re following. Make sure to tamp it evenly, which is basically just the process of evening out and flattening out the grinds. (Kind of like packing flour into a measuring cup.) Some espresso machines have an auto-tamp feature. In terms of how much coffee to put in, you usually want 3/4 of an ounce of ground beans for a 1 ounce shot. Make sure the machine’s reservoir is filled with water. Then, brew!
Traditionally, it should take between 20 to 30 seconds for your coffee to extract in an espresso machine. If it’s coming out in like 8 seconds, that means your coffee is way too coarse and needs to be ground up more. On the other hand, if it comes out in 40 or 50 seconds, it’s going to be so heavily extracted that it’s going to be really bitter. Again, some people are into that, but it’s probably too much for most people at that point. But this intuition and process can be learned and developed by doing it consistently and allowing your palette to guide what you’re looking for.
Regardless of what espresso machine you have, there are a lot of resources on YouTube from coffee professionals, and different espresso machine manufacturers and retailers that have really great, simple tutorials. I think it’s the best time ever to get into espresso, because the accessibility of information is really, really high. If you feel nervous about it, but are interested in it…just go for it!
Recommended coffee treat: blueberry muffin
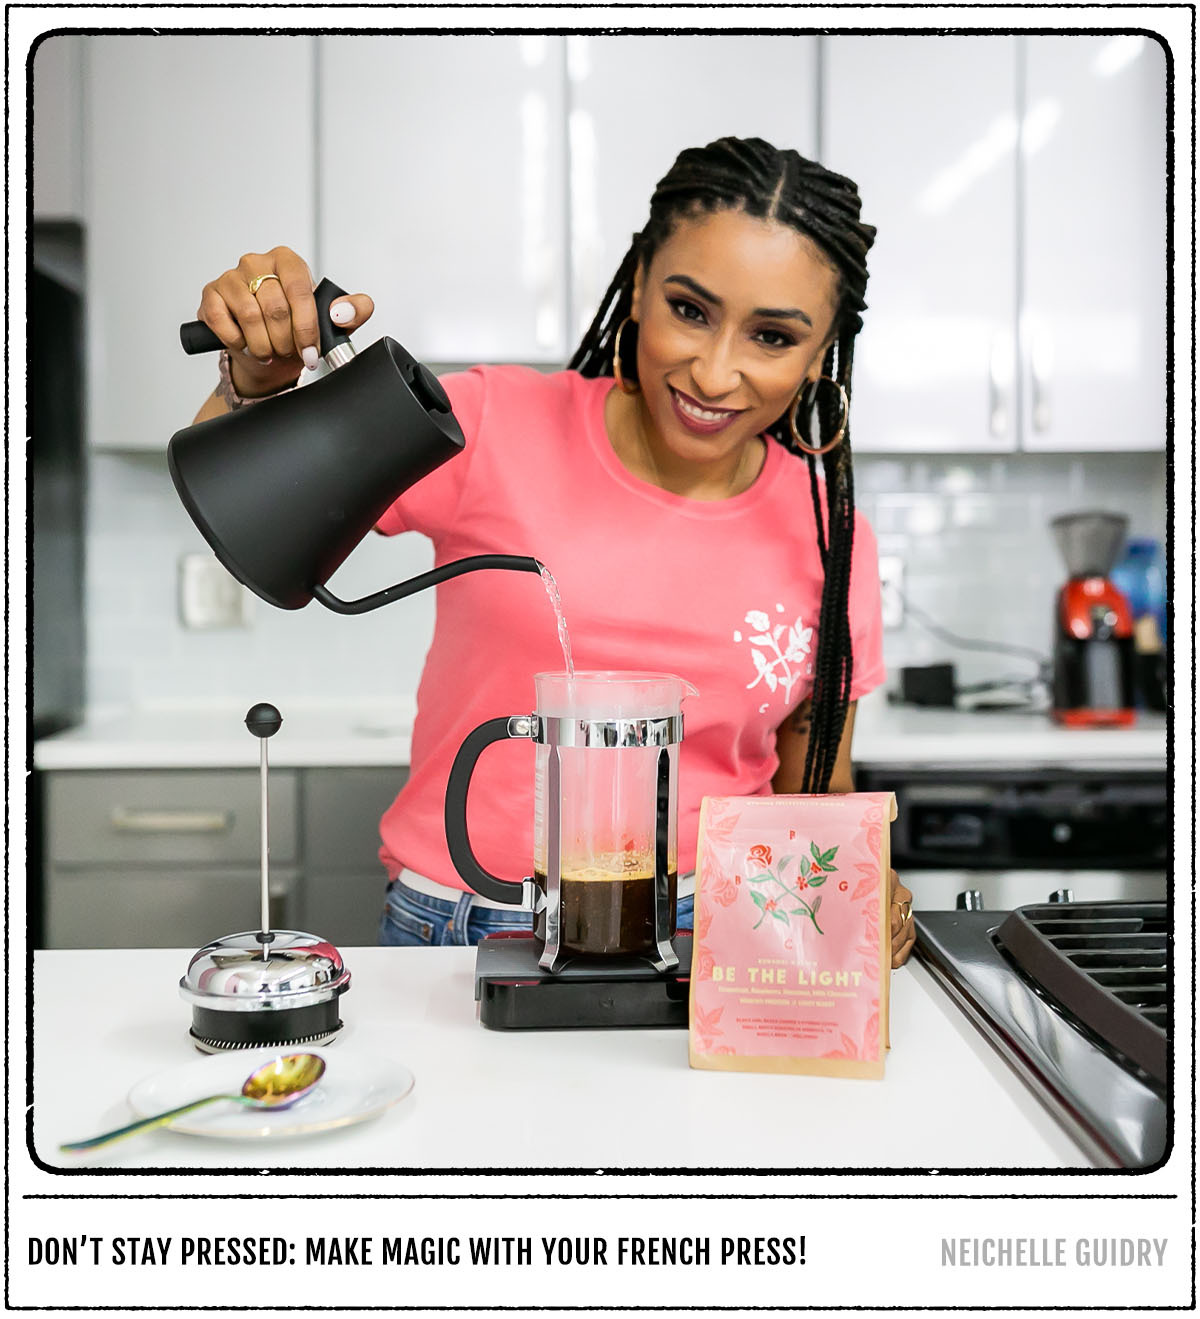
METHOD 3: FRENCH PRESS!
Last up today is Neichelle Guidry, an Atlanta-based coffee brewer and founder of Black Girl Black Coffee, a collective that supports Black women in the coffee industry. She’s going to teach you the right way to make your joe with a French press. —NPH
French press is such an accessible brewing method. You can literally go into any Marshalls or T.J. Maxx and get yourself a good one. There’s a paywall with methods like espresso, but you can get a really decent French press, like a Bodum, for less than $30. It’s also a simple method: There are no buttons, and you don’t even need to plug it in! You just pour your water and let it sit. It’s extremely portable, too: You can have one at home, one at your office or put a travel-size one in your suitcase. The only drawback to a French press is that, since you’re brewing by saturating the coffee, you’re also getting traces of coffee oils, so it doesn’t always feel like the cleanest cup, unless you like a heavier mouthfeel. Plus, too low a price point and the sieve will be very flimsy, and you’ll end up getting coffee grinds inside your cup.
You need a good grinder, like a burr grinder. When you grind your beans, the size of the grind definitely matters. For a French press, you basically want a sea salt sort of coarseness — you want to be able to very visibly see the chunks of coffee. I always prefer to grind whole beans myself, because you get a lot more control over the release of the flavor, the aromas and the essence of the coffee. If you don’t want to spend the money on a burr grinder, a spice grinder that’s $15 at Walmart will be a great entry point for you.
While you’re grinding your coffee, pour a little hot water into the carafe of your French press to warm it up. Then empty the water and take a couple spoonfuls of your coffee and put it in the carafe — make sure the chamber is level. Then you’re going to submerge the coffee in just a bit of boiling water at first, just to cover the grinds and give them a chance to wake up — we call that the bloom pour, which releases the aromas and flavor. Let it sit for about a minute. You’ll see it oxidizing and those pretty, iridescent bubbles. After about 1 minute, you’ll then pour in the rest of the water to fill the press, give your coffee a stir, place the lid on the carafe and then let it sit for 4 minutes. Once time is up, you can press the plunger all the way down, pour and enjoy! I would recommend looking up a recipe for a French press depending on how many cups you want to get out of the carafe.
The coffee-to-water ratio is going to be really important for getting the best flavor out of your coffee. You don’t want to water down the flavor, but you also don’t want to have so little water that the coffee’s not able to express itself. I love a 1-to-16 ratio if I’m having just one cup: that’s 16 grams of coffee and 256 grams of water. To me, that’s a perfect, crisp, clean cup of coffee that does the trick!
Recommended coffee treat: cardamom cake
Meet your guide

More Like This


Every Thursday, our resident experts see to it that you’re up to date on the latest from the world of drinks. Trend reports, bottle reviews, cocktail recipes and more. Sign up for THE SPILL now.