
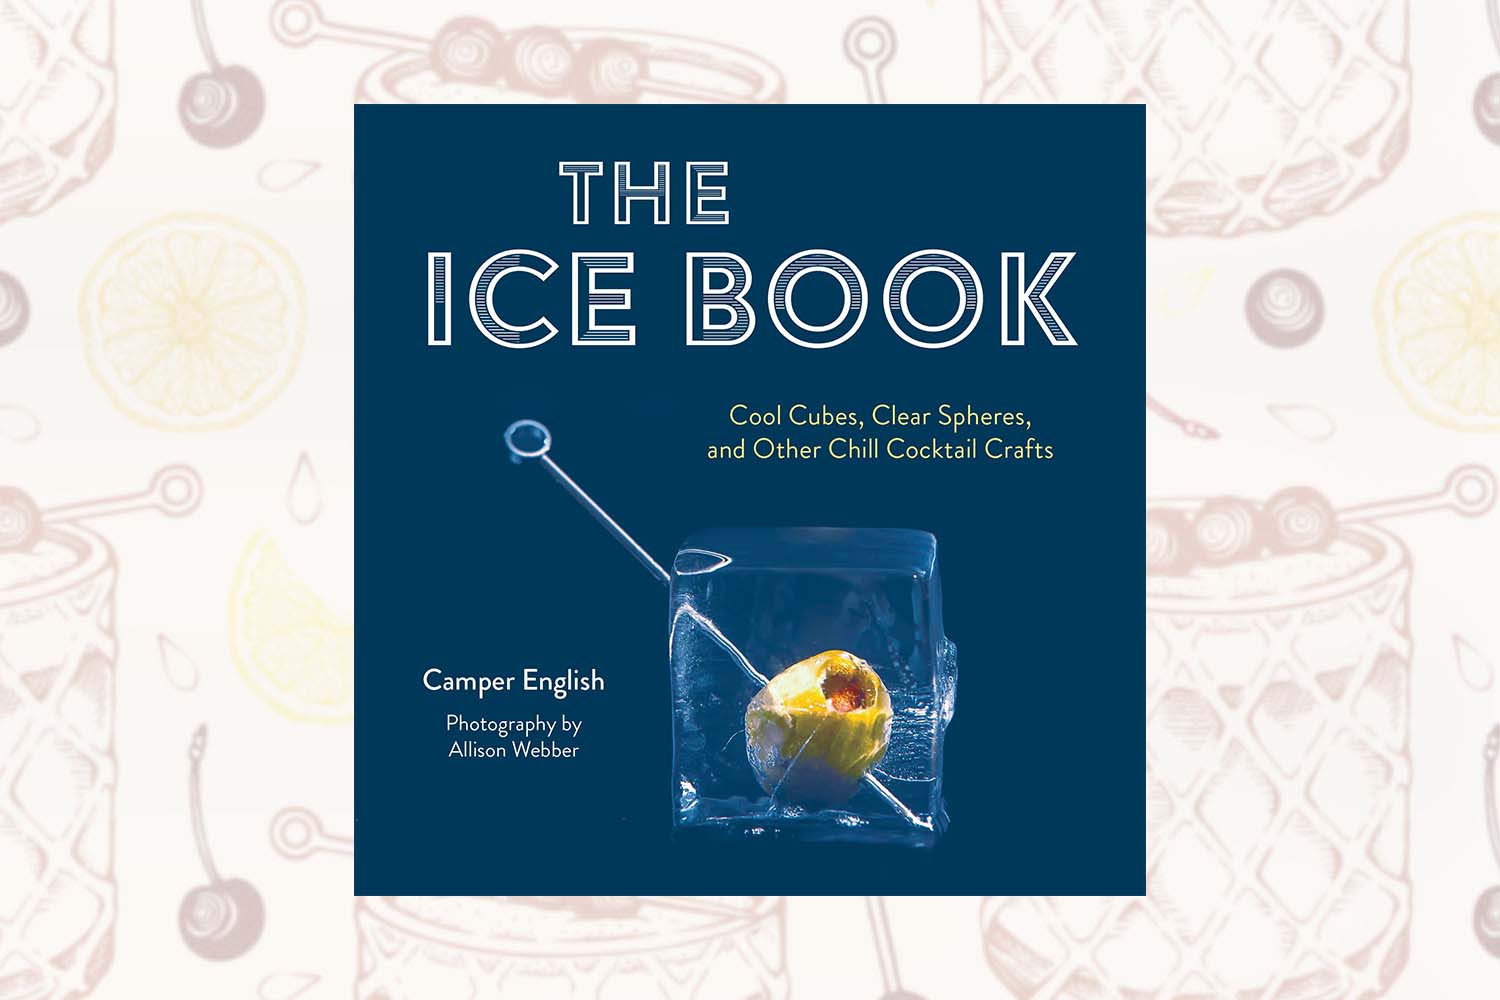
“Clear ice. It’s frozen water. What’s the fuss?” In The Ice Book: Cool Cubes, Clear Spheres, and Other Chill Cocktail Crafts (out May 23), cocktail guru/author Camper English answers the very first question he poses in his succinct and beautifully photographed drinks guide with, well, absolute clarity. English, after all, is the person credited for popularizing the concept of directional freezing, which nets you those fancy clear ice spheres and cubes.
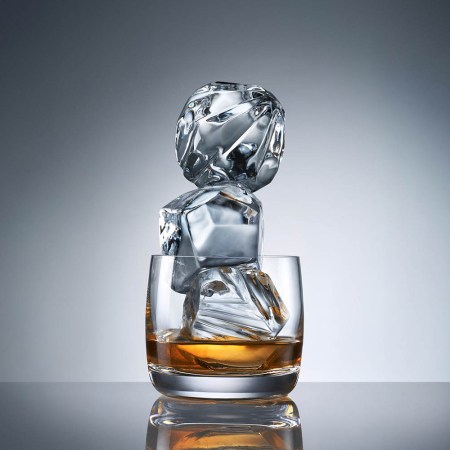
But there’s so much more than just ridding the world of cloudy ice cubes here. English explains how to cut and shape ice (ice diamonds, anyone?), freeze objects in ice (both edible and decorative) and even craft entire drinks within a clear ice sphere (including a Manhattan).
It’s a wonderful and quick guide for novices and drinks experts alike. Below, a short excerpt from the book that covers clear ice basics, along with a summer-ready recipe called Passion Project, a shaken white rum and passionfruit tipple that utilizes edible flowers in the ice.
[The following is excerpted from pg. 20-23 of The Ice Book from Red Lightning Books. Reprinted with permission.]
If you’re having trouble visualizing how ice usually freezes, or you just want to run an experiment to prove to yourself that this is sensible, do the following: Fill a small, roundish plastic container like a take-out deli container with water and allow it to freeze for three or four hours.
Pull out the container and look at the ice—it probably won’t be fully frozen yet, but the outer ice shell will look pretty clear. The inside will probably be clear water that you can hear sloshing around. All clear, so far.
Now put the container back in the freezer to let it finish freezing. The ice will come out cloudy mostly in the middle and those outsides remain clear. As you will see, the first part of the water to freeze is usually clear, and when it freezes the air and impurities are pushed into the center of the block where they are trapped.

Make a Mostly Clear Ice Block, Just to See How It Works
If you freeze an entire cooler full of water, you’ll end up with a block that is about 75 percent clear on top with the rest being cloudy. There is no need to freeze an entire block if you only want to make clear ice, but maybe you’d like to do it anyway to see what happens.
Keep in mind, though, that water expands when it freezes, so allowing the entire cooler container to freeze can weaken the plastic. If you freeze the entire cooler solid too many times, it will eventually crack. I don’t recommend letting the block freeze solid, but likely you’ll sometimes forget and let it go too long.
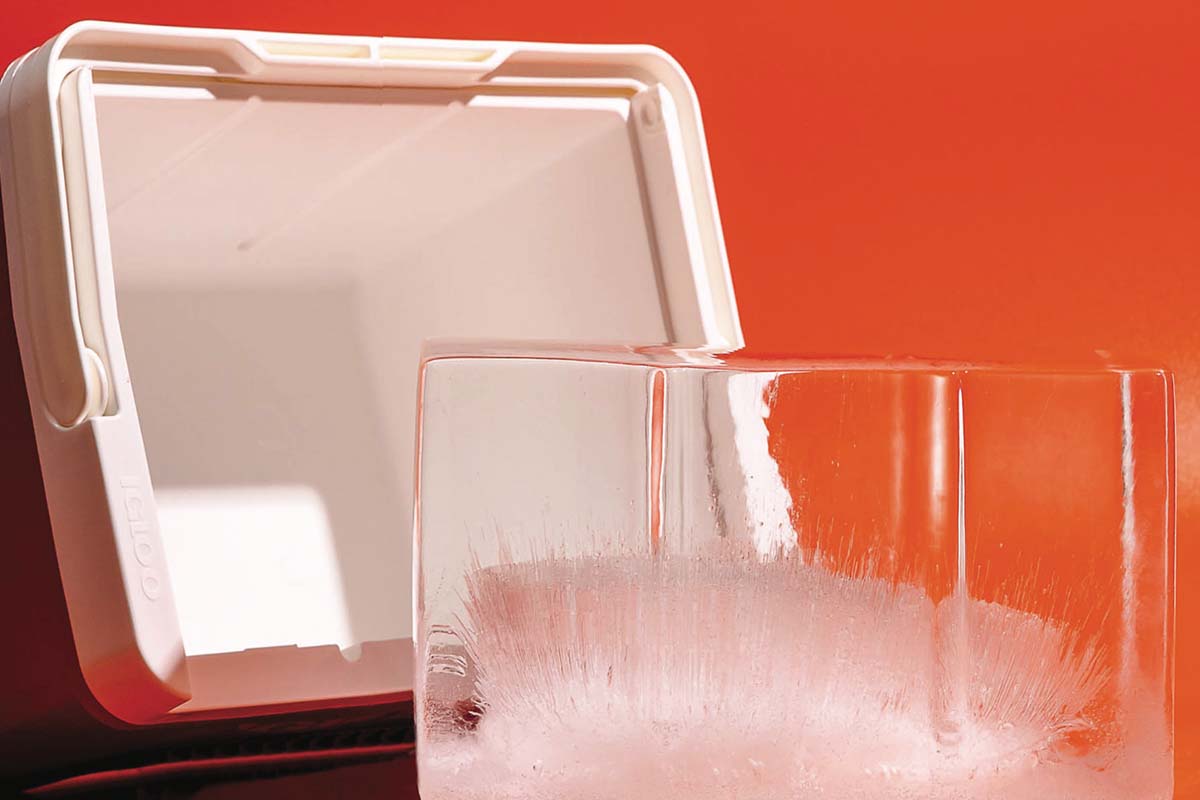
- Buy or make an insulated container. I use a hard-sided Igloo brand cooler. You can make your own if you are ambitious, although in my experience the professional ones work better than homemade versions. (You can often find used coolers missing their tops in thrift stores.)
- Make space in your freezer. This might be a challenge!
- Remove the lid of the cooler, and fill it with regular tap water. You don’t need to fill it all the way up. Place the container in the freezer.
- After a few days (about four days in my home freezer), the ice should look clear on the surface but cloudy at the bottom. (I find it helpful to shine a flashlight on the block to see how much has frozen.) Remove the cooler from the freezer. Tip it over and wait for the ice block to slide out. It might take more than half an hour to do so.
- If you are impatient (and who wouldn’t be?) you can run warm water over the bottom of the cooler in the sink while holding it upside down. You’ll probably hear the container make groaning sounds and start to dislodge. It will eventually drop out.
- If you have chlorinated water, when you separate the block from the container you may smell a big burst of chlorine. That’s normal and a sign that the freezing water concentrated not only the air and minerals at the bottom of the block but also the chlorine!
- Marvel at your ice block. You have mastered directional freezing. See Chapter 3 for how to cut out the cloudy part of your ice block and how to cut the remaining slab into cubes.
Make a Perfectly Clear Slab of Ice — the Easy Way
Here we make a completely clear slab of ice that can be cut up into cubes. The process is the same as making a fuII block of ice as we did in the last section, except we only let it freeze long enough to make the clear section on top.
- Get an insulated container like a hard-sided cooler.
- Make space in your freezer.
- Fill the container with regular tap water. You don’t need to fill it up all the way.
- Place the container in the freezer with the top off.
- After about two days, remove the cooler from the freezer. Tip it over and wait for the ice block to slide out. As it does, the unfrozen water in the bottom will splash out, so be sure you’re doing this in the sink or somewhere that can get wet.
- Cut your slab into cubes and other shapes.

Passion Project on an Edible Flower Ice Sphere
Prep Time: 5 miins
Servings: 1
Ingredients
- 2 oz white rum
- 1 oz passionfruit syrup (Small Hand Foods brand recommended)
- 1 oz lime juice
- 1 oz ginger beer (optional)
Directions
-
Instructions
-
Shake rum, syrup, and lime with ice and strain over an edible flower ice sphere.
-
Top with ginger beer if desired. Garnish: None.
-
(Note: English outlines how to place objects in ice on page 101, but it’s pretty simple — you might want an ice sphere tray like this.)
More Like This


Every Thursday, our resident experts see to it that you’re up to date on the latest from the world of drinks. Trend reports, bottle reviews, cocktail recipes and more. Sign up for THE SPILL now.